Microk8s as it name is a simple k8s cluster that you can easily install and use it with some singles command. Microk8s can run on any OS architecture even AMD with your Raspberry pi 4.You should think this tool maybe just for demo or learning purpose. But there are a lot of companies using microk8s as a solution for their cloud because it’s simple and very powerful with a lot of add-ons. In this series, when we explore the k8s theories I have instructed you to install microk8s on your machine and start explore the k8s world with microk8s. In this blog we’ll start from scratch when you have a bare metal server.
Table contents
- Part 1: My first time deploy a web to a aws cloud service
- Part 2: Docker and containerization
- Part 3: K8s and the new world of container orchestration
- Part 4: Deploy your express application to k8s
- Part 5: Networking with K8s is f***ing hard
- Part 6: From the cloud to ground: Physical server setup for a private cloud
- Part 7: From the cloud to ground: Install Ubuntu Server and Microk8s
- Part 8: From the cloud to ground: Harvester HCI for real world projects
- Part 9: From the cloud to ground: Private images registry for our private cloud
- Part 10: From the cloud to ground: Accept outside world traffics via Cloudflare tunnel
- Part 11: From the cloud to ground: CI/CD with git hub runners
- Part 12: Monitoring and debugging with Open Observe and lens
Install Ubuntu server
The best and easiest option for microk8s and also for your server is Ubuntu server of course. So first, let’s download the ISO installation file from this url: https://ubuntu.com/download/server. You can chose any version you like my advice is to get a version with Long term support (LTS)
Burn your ISO file to your USB. Plug it in your computer. Try to enter the boot menu (usually spam f11,f12 or Del when boot up). Then chose boot from USB to continue
Install Ubuntu server is very easy you can read more at this site: https://ubuntu.com/tutorials/install-ubuntu-server#1-overview
Here is some note in the installation step
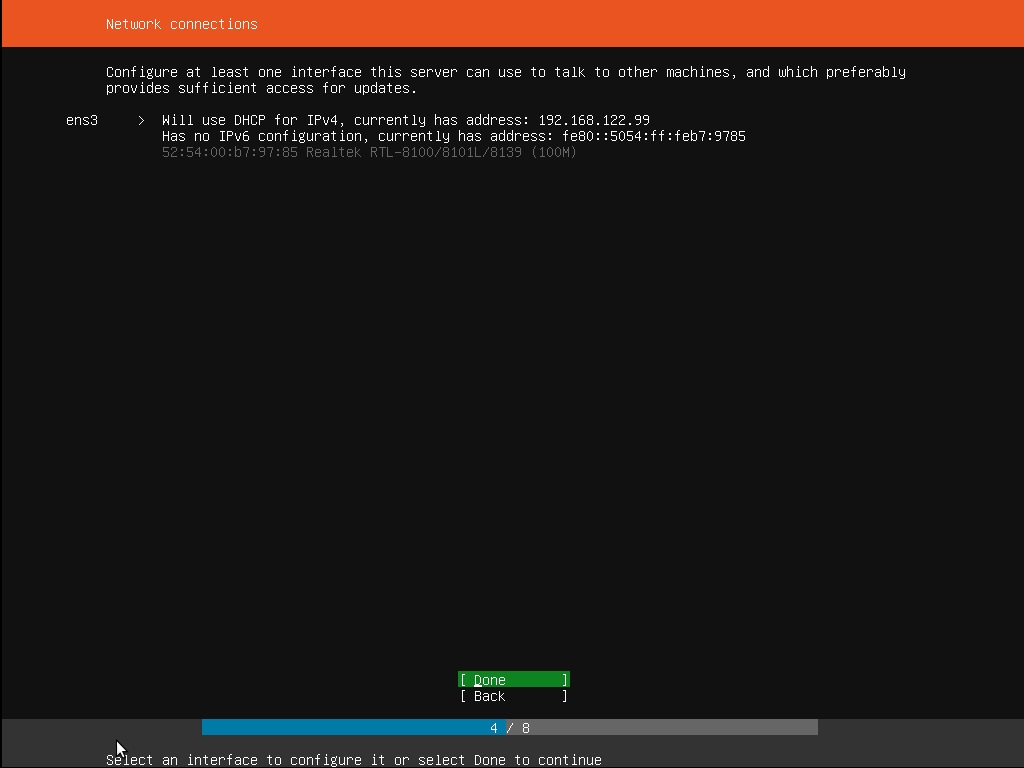
In this network configuration step. Just let it is dynamic IP option with DHCP we’ll configure the static IP for our server latter
There are a step that ask you to install some package to your machine eg(mircok8s, sshd server, etc..) Don’t chose anything we’ll install what we need later manually.
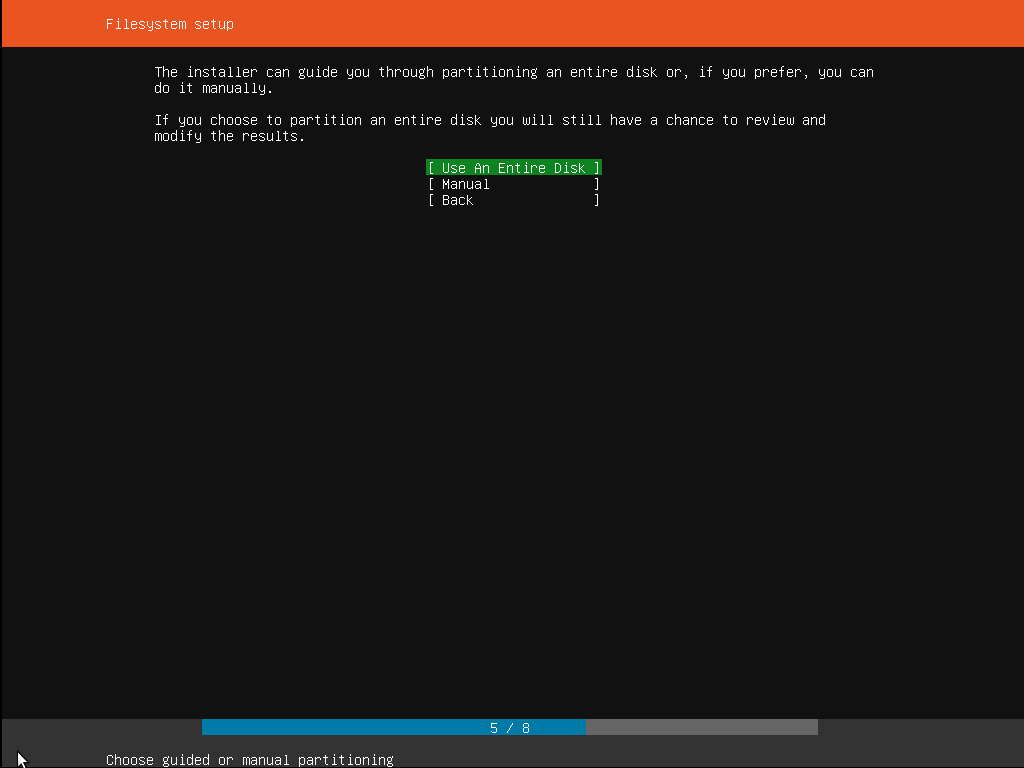
In select disk setup just chose use entire disk and chose a hard disk which you want to install the Ubuntu server on it. Then confirm the configurations
Finally, just enter the username and password for your root and you are good to go

Now stand up do some push ups when you’re waiting the OS installation process :)) When it’s done you can move to next step to config a static IP address so you can ssh to your server
Config static IP address for Ubuntu server
You don’t need a static IP address to use a ubuntu server but for easily connect and config network later. We should config each server have a static IP. In Ubuntu Server just follow these step to setup a static IP
sudo vim /etc/netplan/00-installer-config.yamlThen edit this file to
network:
  ethernets:
    eth0:
      dhcp4: false
      addresses:
        - 192.168.90.xx/22
      gateway4: 192.168.88.1
      nameservers:
          addresses: [8.8.8.8, 1.1.1.1]
  version: 2
Some explanations:
- address: 192.168.90.xx/22 is your server static IP you can chose any IP that has not been used in your lan network. Here is just example that i want all my server IP have a format is 192.168.90.xx
- gateway4 is the router ip address that mentioned it latest blog. This help your machine to find which router to send its packets and also mark the packet with its IP address so the router know which server to send packet back to the server.
- nameservers: This the ip address of DNS we set to 8.8.8.8 (google DNS) and 1.1.1.1 (Cloudflare DNS)
Save this file then execute this command to apply changes
sudo netplan applyNow you can use another machine which is same network as your server then try to ssh to your server use the static IP you’ve set and using the username and password that you entered when install your ubuntu server
ssh username@ipInstall and config Microk8s cluster on your server
Now your server is up and running you can unplug the monitor and keyboard then leave it somewhere in your home. Then use another computer to ssh to it and continue
Install microk8s is very simple just like in these previous blogs. Here is a quick recap
sudo snap install microk8s --classic
microk8s status --wait-ready
# to use embeded kubectl
microk8s kubectl # you should set alias for this eg mkctl="microk8s kubectl"
# some add-ons
microk8s enable dashboard # dashboard proxy
microk8s enable registry # built-in private registry
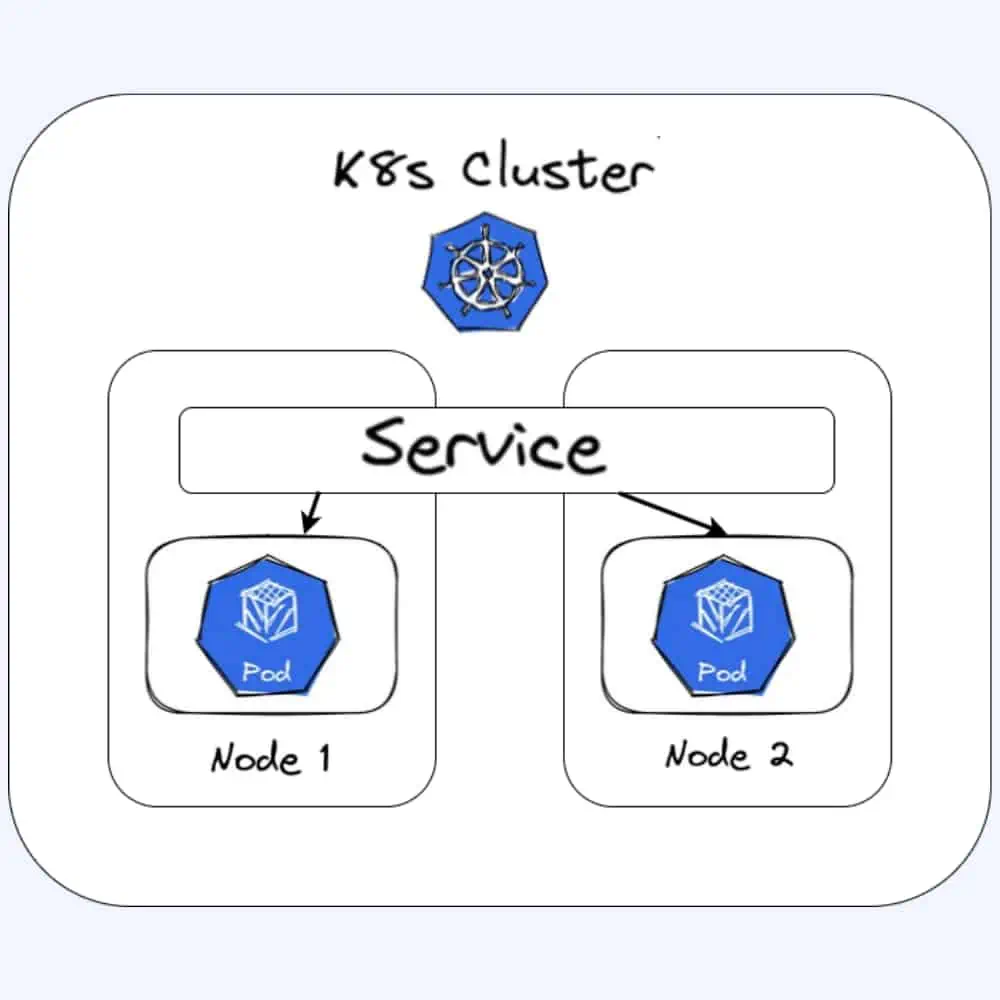
microk8s enable ingress # networking with ingressVery easy right ? anyway if you have more than 1 server you can create a cluster here is how we do it
turn a node to a master node
microk8s add-nodeThen follow the instruction as output of below command on worker nodes. Eg:
From the node you wish to join to this cluster, run the following:
microk8s join 192.168.1.230:25000/92b2db237428470dc4fcfc4ebbd9dc81/2c0cb3284b05

Use the '--worker' flag to join a node as a worker not running the control plane, eg:
microk8s join 192.168.1.230:25000/92b2db237428470dc4fcfc4ebbd9dc81/2c0cb3284b05 --worker

If the node you are adding is not reachable through the default interface you can use one of the following:
microk8s join 192.168.1.230:25000/92b2db237428470dc4fcfc4ebbd9dc81/2c0cb3284b05
microk8s join 10.23.209.1:25000/92b2db237428470dc4fcfc4ebbd9dc81/2c0cb3284b05
microk8s join 172.17.0.1:25000/92b2db237428470dc4fcfc4ebbd9dc81/2c0cb3284b05
Tadaa!!! just few step and you have a k8s cluster here is some note if you join and using –worker flag your node now is marked as a worker node and don’t run control plane service. So if you try to set kubectl context to the worker node ip address it won’t work. So to get the cluster config file ssh to one of master node the execute this command to get the cluster config yaml file
microk8s kubectl config view --rawNow you have a config file to manage your k8s cluster from any machine using kubectl command (in this file if it using localhost as value please change it to the static server IP)
At this point, your microk8s cluster just accept to pull image from public image registry like dockerhub. Microk8s allow you to enable a private registry. Read more here: https://microk8s.io/docs/registry-built-in. More detail about private registry I’ll write in another blog because this blog is so long at this point: Part 9: From the cloud to ground: Private images registry for our private cloud
Conclusion
Ok, after this blog we have a up and running microk8s cluster on ubuntu server OS so we can deploy our applications to. In next step, we’ll discover another tool for k8s cluster that is more powerful. Part 8: From the cloud to ground: Harvester HCI for real world projects
Thanks for reading and see you guys in next blogs 😀
__Coding Cat